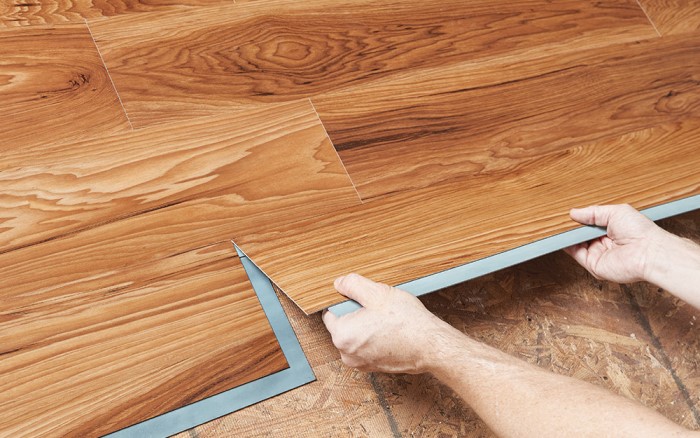
Discover the ultimate guide to installing vinyl flooring in your home. Learn step-by-step instructions, tips, and tricks for a successful installation.
Are you considering a home improvement project that involves upgrading your flooring? Look no further than vinyl flooring, a versatile and budget-friendly option that can transform the look of your space. In this comprehensive guide, we’ll walk you through everything you need to know about installing vinyl flooring in your home. From preparation to maintenance, we’ve got you covered.
Getting Started
1. Understanding Vinyl Flooring
Vinyl flooring is a popular choice for homeowners due to its durability, affordability, and wide range of styles. It’s available in both sheets and planks, allowing you to choose the option that suits your space best.
2. Gather Your Tools and Materials
Before you begin, make sure you have all the necessary tools and materials, including vinyl flooring, adhesive, a utility knife, measuring tape, and a roller.
Preparing Your Space
3. Measure and Plan
Accurate measurements are crucial for a successful installation. Measure the dimensions of the room, accounting for any nooks or irregularities.
4. Subfloor Inspection and Preparation
Ensure that your subfloor is clean, dry, and level. Any imperfections can affect the final result. Use a leveling compound if needed.
Installation Steps
5. Starting Point
Begin installing the vinyl flooring from a reference point, usually the center of the room, to ensure a symmetrical layout.
6. Adhesive Application
Apply the adhesive to the subfloor using a recommended trowel. Follow the manufacturer’s instructions for the adhesive’s drying time.
7. Placing the Vinyl
Carefully place the vinyl sheets or planks onto the adhesive, making sure they align correctly. Use a roller to press out any air bubbles and secure the flooring.
8. Trimming and Cutting
Trim excess vinyl along the edges and around obstacles using a utility knife. Take your time to ensure precise cuts.
9. Seaming
If you’re using vinyl sheets, create seams by overlapping the edges and applying adhesive between them. Press firmly for a seamless look.
10. Finishing Touches
Install baseboards or quarter-round molding to cover gaps and provide a polished finish.
Maintenance and Care
11. Cleaning Vinyl Flooring
Vinyl flooring is easy to maintain. Regularly sweep or vacuum to remove debris, and mop with a vinyl floor cleaner for a fresh look.
12. Avoiding Scratches
Place felt pads under furniture legs to prevent scratches. High heels and sharp objects can also damage the surface.
A Comprehensive Guide to Installing Vinyl Flooring in Your Home
13. The Benefits of Vinyl Flooring
Explore the advantages of vinyl flooring, including water resistance, easy installation, and a wide range of styles.
FAQs (Frequently Asked Questions)
Can I install vinyl flooring over existing tile?
Yes, you can install vinyl flooring over existing tile as long as the tile is in good condition and the surface is level.
How do I deal with seams in vinyl flooring?
Seams in vinyl flooring can be hidden by using a seam filler and adhesive, creating a seamless appearance.
Is underlayment necessary for vinyl flooring?
Underlayment is not always necessary for vinyl flooring, but it can provide additional cushioning and insulation.
Can I install vinyl flooring in bathrooms?
Yes, vinyl flooring is a great choice for bathrooms due to its water-resistant properties.
How long does vinyl flooring typically last?
With proper care and maintenance, vinyl flooring can last for 10 to 20 years or more.
Can I install vinyl flooring myself, or should I hire a professional?
Vinyl flooring installation is a DIY-friendly project, but hiring a professional can ensure a flawless result.
Conclusion
Congratulations! You’ve now completed our comprehensive guide to installing vinyl flooring in your home. With the right tools, materials, and knowledge, this project can be a rewarding and cost-effective way to enhance your living space. Enjoy your new vinyl flooring for years to come.

