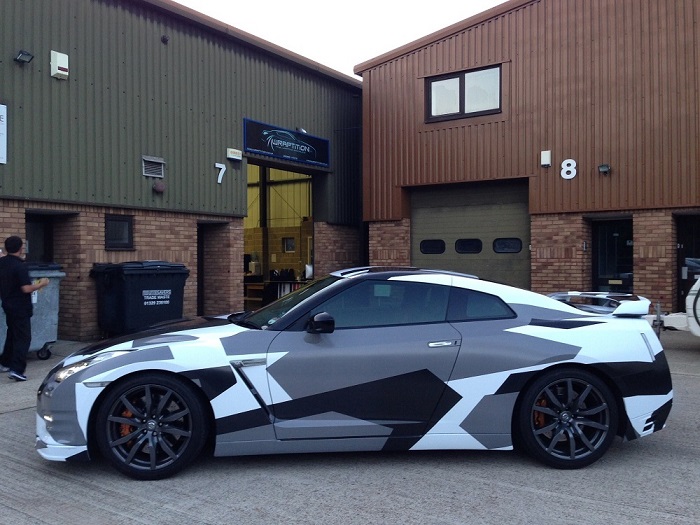
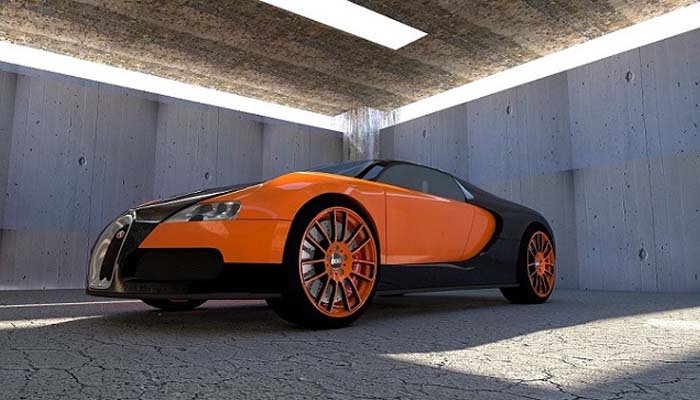
A vehicle wrapping is a very new thing in this whole car designing world and is becoming more and more popular every single day. A car is a huge investment for every single person, poor or rich; hence its maintenance and its looks are a very important factor. Therefore, more and more people are doing vehicle wrapping to make their car look good and also unique. A single model of car has millions of products and hence it is important one makes his car unique so as to differentiate it from the other same type of cars.

Vehicle Wrapping Business
This vehicle wrapping business has come a long way since its inception. Earlier under the vinyl’s there used to trapped air bubbles and the designs used to get crooked as a result. Now gone are those days, we have come to a long way the industry of vehicle wrapping.The new adhesive vinyl is much more advanced which as a result gives both the professionals and the amateurs almost the same results.
This new adhesive reaches its most sticky state in almost about 24 hours hence as a result, the vinyl’s can always be moved around in case of a bad fitting or some other problems. The vinyl itself has spaces and channels to let the air bubbles out. One layer of vinyl can last up to around 10 years.
Earlier vinyl was just used for design purposes but nowadays it’s also used for hiding certain areas of a car which needs a paint job, which is overall cheaper than painting the whole car. Also, the vinyl protects the paint underneath from scratches, rocks or the sun. If you plan to remove it someday, you will find that first of all it is very easy to remove it and secondly beneath the vinyl the car is as good as new.
Here are A Few Tips Regarding How to Do Vehicle Wrapping:
1. Choose the Vinyl
The first job for a vehicle wrapping is to choose the vinyl the owner wants for his car.
2. Prepping the Paint
Here you need to prepare the car or rather the paint on the car so that the vinyl can be easily applied with less hassle. This whole process includes fixing any scratches or dents that or on the paint. If this process is ignored, sometimes if there are a dent and the vinyl is applied over it.
3. Remove Other Items
Then you must remove the mirrors and moldings. The mirror can be kept while vehicle wrapping is being done but it is way more time to save to wrap the mirror with the vinyl after removing it.
4. Planning
Next is the most important stage, to plane out the whole session. How and where to apply what type of vinyl and in which order in other words. Different people take different ways to apply the vinyl. Some choose the roof first, whereas some choose the bumpers first. It varies from person to person and their preference.
5. Applying
The last step is to apply the vinyl. You need to place the vinyl in the appropriate position and then remove the adhesive coating and then apply it using your hands. Even it out and also stretches it since after the glue dries it will shrink a bit. Make sure to cover all edges. Remember even if anything goes wrong you can always reposition it since it takes almost about 24 hours for the glue to dry. Then at the last cut out the extra edges and wait for it to dry. Then after a day marvel and glee at your beautiful vehicle.
If you want to choose the best vehicle wraps, then go through this post and get more useful ideas.

