How to install Peel and stick flooring in living room? Learn step-by-step how to install peel and stick tiles in your living room with ease.
Table of Contents
How to Install Peel and Stick Flooring in Living Room
Ever looked at your living room and thought, “Wow, this space needs a serious refresh—but I don’t want the cost or mess of hardwood?” You’re not alone. Many homeowners feel stuck between pricey renovations and outdated floors. The good news? Peel and stick flooring is your budget-friendly, DIY-friendly solution.
Right off the bat—yes, you can install peel and stick flooring in your living room. It’s quick, cost-effective, and requires only basic tools. The best part? You don’t need professional experience. Whether you want a modern wood look, a classic stone vibe, or even something bold and trendy, peel and stick tiles deliver.
In this guide, I’ll walk you step-by-step through the process so you’ll feel confident tackling this project yourself. Let’s dive in.
🏡 Why Choose Peel and Stick Flooring for Living Room?
Peel and stick flooring has become a go-to option for homeowners, and for good reason. It’s affordable, durable, and stylish. Unlike traditional hardwood or stone flooring, you don’t need nails, grout, or professional installation.
Here are a few benefits that make it shine:
- Budget-friendly: Way cheaper than hardwood or tile.
- Easy to install: Perfect for beginners.
- Variety of designs: From rustic wood to sleek marble looks.
- Low maintenance: Just sweep and mop like usual.
- Temporary or permanent: Works for renters and homeowners alike.
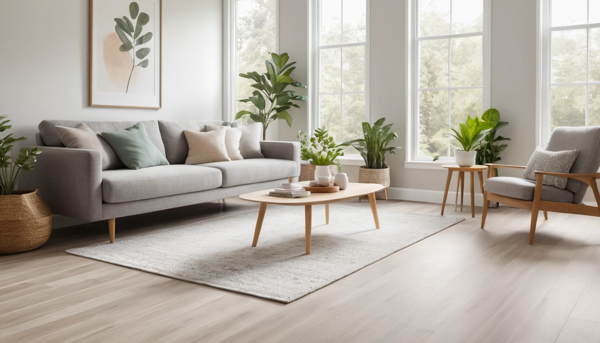
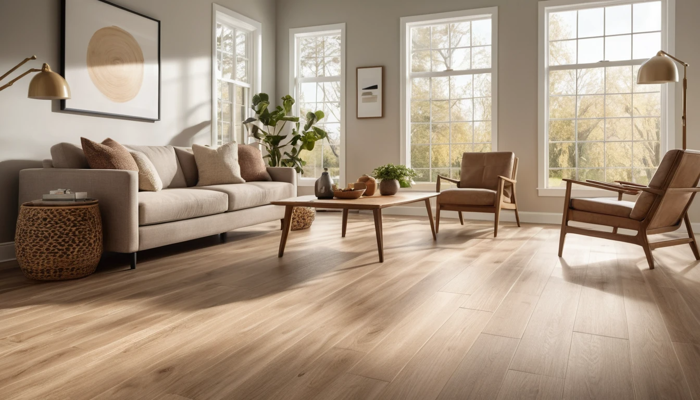
Imagine giving your living room a brand-new look in just one weekend without breaking the bank—that’s the power of peel and stick flooring.
🔧 Tools and Materials You’ll Need
Before you start, it’s important to gather everything you’ll need. You don’t want to pause halfway through installation to run to the store.
You’ll need:
- Peel and stick tiles (enough for your room size)
- Utility knife or heavy-duty scissors
- Measuring tape
- Straight edge or ruler
- Chalk line or pencil
- Floor roller (optional, but helpful)
- Cleaning supplies (broom, mop, mild detergent)
Custom Table: Basic Tools and Costs
| Tool/Material | Average Cost | Why You Need It |
|---|---|---|
| Peel & Stick Tiles | $1–$3/sq. ft. | Main flooring material |
| Utility Knife | $10–$15 | Cutting tiles accurately |
| Measuring Tape | $5–$10 | Ensures correct dimensions |
| Floor Roller | $20–$30 | Helps tiles stick firmly |
| Cleaning Supplies | $5–$10 | Prepares surface for installation |
🧹 Step 1: Prepare Your Living Room Floor
Getting your floor ready is the most important step. If it’s not ready, the tiles won’t stick right.
- Take out all furniture and rugs.
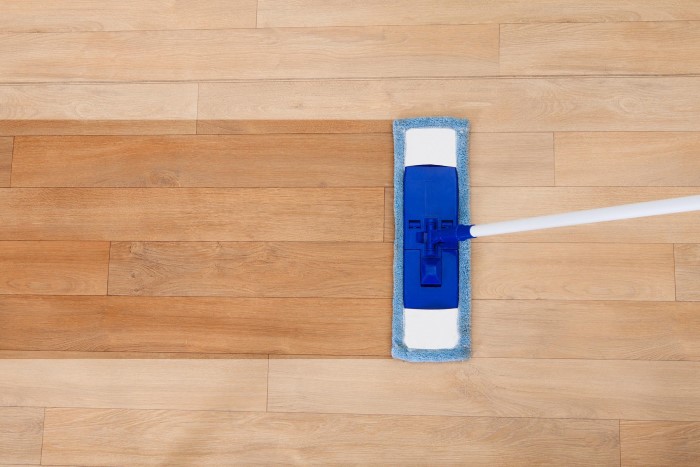
- Clean the floor by sweeping and mopping.
- Make sure the floor is smooth. Fix holes or cracks.
- If you’re putting it over concrete, make sure it’s dry and even.
- Don’t put it over carpet—it won’t work.
Think of it like painting a wall. You wouldn’t paint over dust and bumps, right? Same idea here—clean, smooth, and dry is key.
📏 Step 2: Measure and Plan Your Layout
Before you start, map out your tiles. This will save you headaches later.
- Measure the length and width of your living room.
- Figure out how many tiles you’ll need (add 10% extra for mistakes and cuts).
- Use a chalk line to find the center of the room.
- Plan your layout so cut tiles fall along the edges, not in the middle.
👉 Pro Tip: Start from the center and work your way out. This makes the final look more balanced.
Custom Table: Room Size vs. Tile Quantity
| Living Room Size | Tile Size (12×12 in) | Tiles Needed |
|---|---|---|
| Small (12×12 ft) | 1 sq. ft. each | ~144 tiles |
| Medium (15×15 ft) | 1 sq. ft. each | ~225 tiles |
| Large (20×20 ft) | 1 sq. ft. each | ~400 tiles |
🏗️ Step 3: Start Laying the Peel and Stick Flooring
Now comes the fun part—installing the tiles!
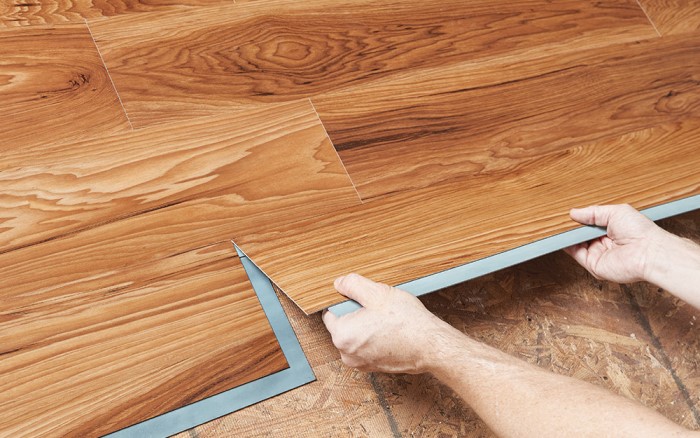
- Peel the backing off your first tile.
- Place it firmly at your center point.
- Press down from the middle outward to avoid air bubbles.
- Continue laying tiles row by row.
- Use your utility knife for trimming edges.
💡 Keep checking your alignment. A small mistake in the beginning can throw off the whole floor.
✂️ Step 4: Cutting Tiles for Edges and Corners
Most living rooms aren’t perfect squares, so cutting is inevitable. Don’t worry—it’s simple.
- Measure the space carefully.
- Mark the tile where it needs trimming.
- Use a straight edge and utility knife to cut.
- Place the cut side against the wall for a neat look.
Cutting may feel intimidating, but once you do a few, it becomes second nature.
🔒 Step 5: Secure and Set the Flooring
Even though peel and stick tiles are adhesive, pressing them firmly makes them last longer.
- Use a floor roller to press down tiles evenly.
- Focus on edges and corners.
- Check for gaps and press again if needed.
This step is like sealing the deal—literally. It ensures your flooring looks professional and stays in place.
Custom Table: Maintenance Tips After Installation
| Task | Frequency | Why It Matters |
|---|---|---|
| Sweeping | Daily | Prevents dirt buildup |
| Mopping | Weekly | Keeps tiles shiny |
| Spot Cleaning | As needed | Avoids stains |
| Furniture Pads | Always | Prevents scratches |
🌟 Final Touches for a Polished Look
After the floor is down, it’s time for the final touches. Add baseboards or trim for a smooth look. Move furniture back slowly, using felt pads on heavy items.
Step back and enjoy your work. Your living room looks new! A simple change can make a big difference.
✅ Conclusion: Your Living Room, Reinvented
So, how to install peel and stick flooring in living room? Prep well, plan, and place tiles carefully. This project saves money, boosts style, and can be done in a weekend.
Key takeaways:
- Always start with a clean, smooth surface.
- Measure carefully and plan your layout.
- Press tiles firmly for long-lasting results.
- Add finishing touches for a professional look.
With this guide, you’re ready to transform your living room into a stylish, cozy space—without hiring a pro.
❓ FAQs
How long does peel and stick flooring last?
Peel and stick flooring can last 5–10 years with proper care. Keeping the floor clean and avoiding excess moisture extends its lifespan.
Can I install peel and stick over old flooring?
Yes, as long as the old floor is smooth, clean, and dry. Avoid installing over carpet or uneven surfaces.
Do I need underlayment for peel and stick tiles?
No, underlayment isn’t required. But if your subfloor is rough, leveling it first will improve the result.
Is peel and stick flooring waterproof?
Most are water-resistant, not fully waterproof. They work well in living rooms, but wipe up spills quickly.
Can renters use peel and stick tiles?
Absolutely! They’re removable and renter-friendly. Just check your lease agreement first.


Leave a Reply